
Piping is a great way to add interest to a seam and to make your style lines extra special. Even though it looks complicated to do, it’s in fact quite simple and with the right technique and tools, it’s easily achievable.
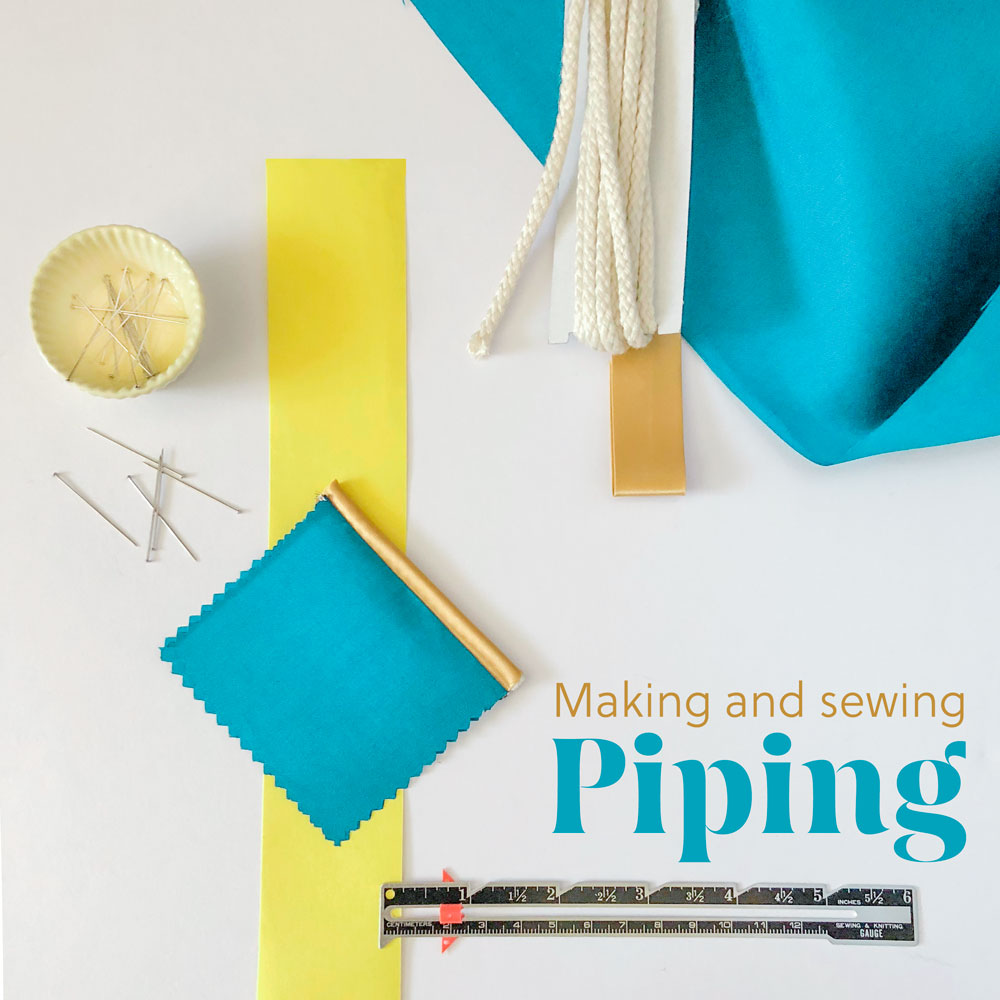
Make your own piping
Even though you can buy piping pre-made, doing it yourself has a few advantages. The possibilities are endless and you can choose to match your piping with your fabric, use a contrasting colour or even another type of fabric entirely.
All you’ll need is some bias binding (either self made or bought) and a cord.
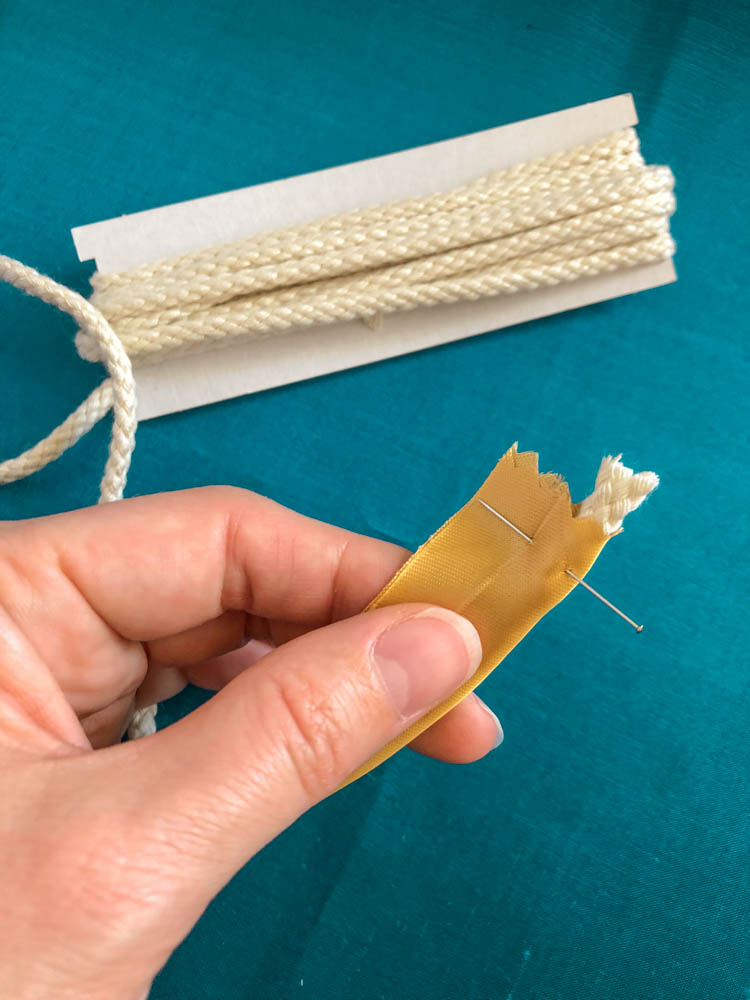
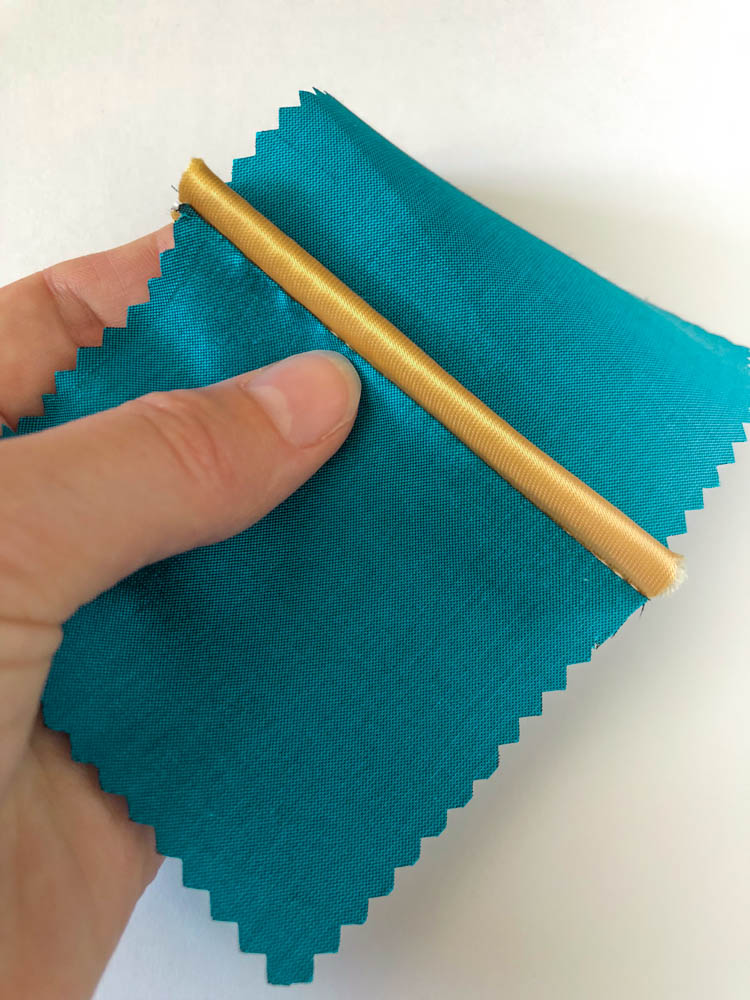
Because we want to focus on the piping part of this technique, we’re using a pre-made binding and pressing it flat to use it.

Note that when choosing your binding, the bigger the cord’s diameter, the widest your binding has to be to wrap neatly around it and still have enough seam allowance to sew it to your fabric.

Once pressed flat, wrap your binding around the cord. Then place a pin to hold everything in place and prevent slipping.
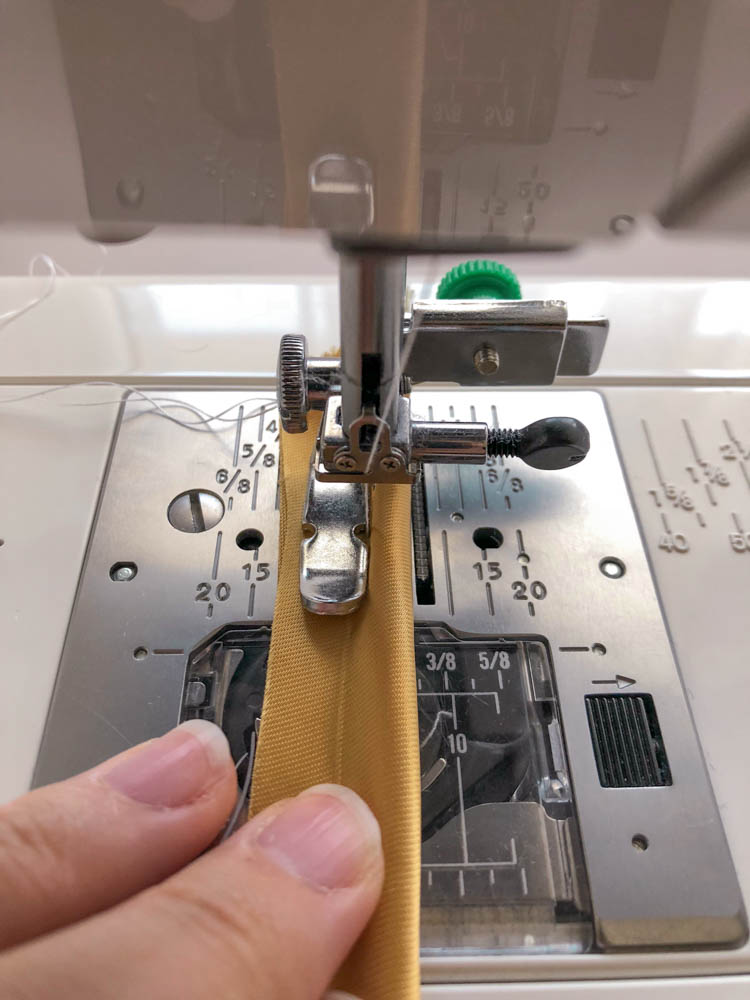
Everything should be basted together to finish the piping and to do that, we’ll be using a adjustable zipper foot. This kind of feet is absolutely perfect for this technique.

By unscrewing and sliding the feet in place, you can align it with the bump the cord is forming and sew as close as possible to the piping really easily.

For the moment, we only need to baste it in place to keep it closed, so set your stitch length to 3 mm.
To cleanly finish your work, trim the seam allowance to match the one of the seam you will be sewing it to. For exemple, for a regular seam like a princess seam or style line, if your seam allowance is 1 cm, then trim the piping’s seam allowance to 1 cm. This will make it much easier to align and sew together later on.

Sew your piping
Now comes the sewing part!
Place your piping along the seam line, on the right side of the fabric, with the fabric and binding seam allowances edges aligning.

Just as you did when basting the piping, you want to adjust the zipper feet to fall directly next to the cord. This time with a normal length straight stitch, secure it in place.
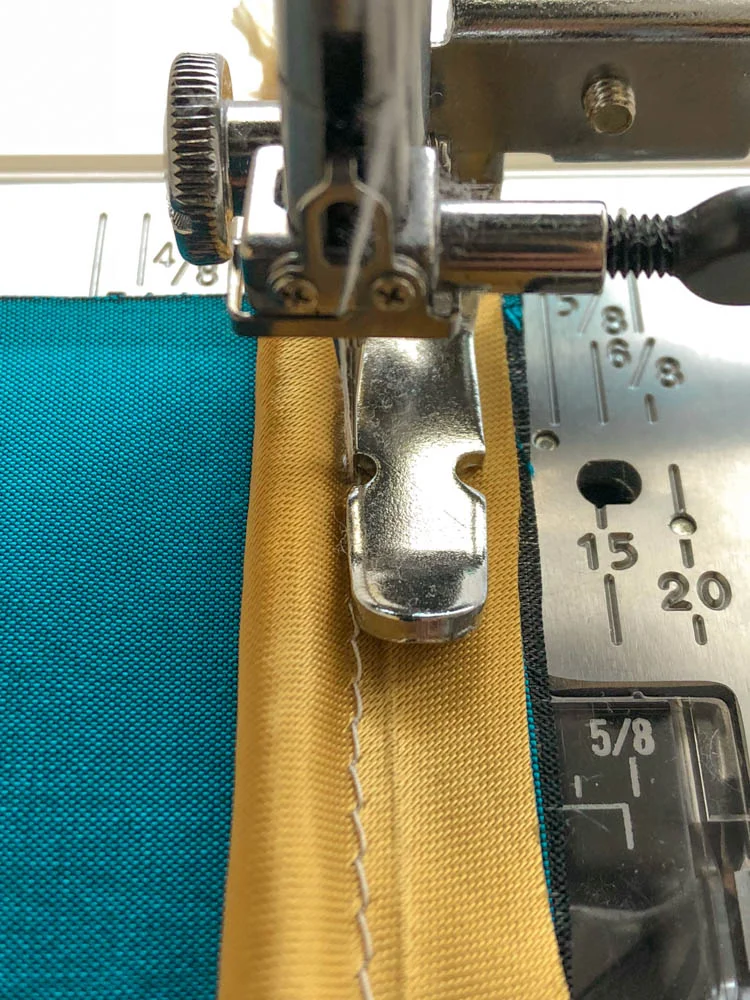
So that you won’t see the basting once finished your seamline should be the closest to the cord possible. A little tip that makes it very easy to do so is to change your stitch width so that the needle will be slightly offset and so closer to the cord.
Once the piping is in place, you can now proceed with the seam as you normally would. Make sure that when you sew your two parts with right sides together, the piping is between both layers. Here again, by once again changing your needle’s position, you’ll offset it just enough to hide both previous stitch lines.

Press the seam open and here you have it, a perfectly sewn piping!
Now you'll just have to resist the temptation to add piping to all the seams! Have fun!